How To Frame An Interior Wall
Make sure the plate will be at the edge of the concrete or framed floor so the sheeting on the wall will go over the edge. Snap a chalk line between the two marks.
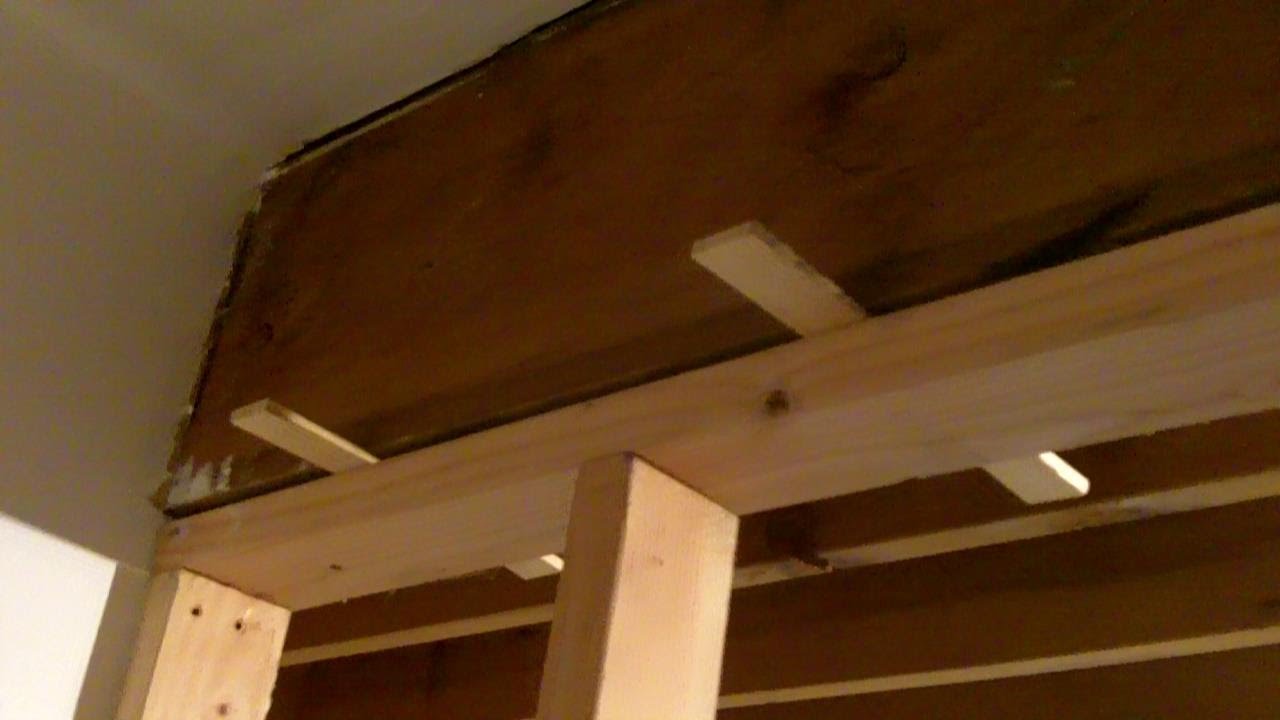
How To Frame The Ultimate Off Grid Cabin In Three Days Day 1 Frames On Wall Framing Construction Off Grid Cabin

Making the wall wider is a trivial change.

How to frame an interior wall. Its really nothing more than cutting pieces of two-by. Lay the plates face-to-face. Studs will be measured individually then they will be toe-nailed into place.
Mark each end onto plate. Cut pressure treated 2 x 4 boards to length and lay them along the chalk line. Measure the gap the wall will cover along the floor and cut a piece of timber to length.
Next you will attach the top plate to the ceiling directly above the bottom plate. Framing openings such as doorways or windows will add time to the project. Walls are built from the ground up.
Most interior walls are made from 2-by-4-inch 5-by-10 centimeter lumber. If you have a helper allow at least one hour for a simple 8-foot-long wall that runs perpendicular to the joists. How to Build a New Wall.
To complete the wall drywall will be hung on the studs. The top and bottom plates should be the straightest two lengths of timber in your stack. As you shim and plumb each section of wall drive 16d nails through the top plate into the framing with a hammer or nail gun.
Build the frame with the lumber laying on edge on the floor next to where it will be erected. If the wall continues the line of an existing wall use a straight edge to mark that line across the floor. Framing a wall sounds like a big construction job but its lighter work than it sounds.
The plate that rests on top of that plate should be cut 3 12 inches shorter. Install wall studs between. Put a mark at each end of the wall.
If the wall is being built in an area with a sloped ceiling such as an attic youll need to construct the frame so that the top of the frame is angled to fit flush against the ceiling. Use an impact driver to drive a 3 Tapcon screw through the wood and into the floor. Instead you will attach the bottom plate to a solid place on the floor.
Interior wall framing step by step. Building an interior wall begins with constructing a frame between the floor and the ceiling. On the interior edge of the wall with the exterior capping stud install a third stud parallel to the stud on the intersecting wall.
Making it significantly taller however seems not. Toe-nail this third stud to. Lay the top and soleplates side by side and measure starting from one end.
First mark the inside edge of the wall at each corner and snap chalk lines. Mark stud locations 15 14 inches from plate end then every 16 inches. If this is a single wall align the two top plates one on top of the other.
Now nail the timber into place. I am capable of framing a simple 8 wide 8 tall 4 thick wall out of 2x4 lumber then attaching plywood or drywall or OSB or any other sheet material to the frame. Select the top and bottom plates.
Building an interior frame is not overly difficult. Your new interior wall and door frame are now complete and ready to. How to Frame an Interior Wall in a Finished Space.
Place header against sole plate in doorway. Fasten the wall into place. If instead the wall will join 90 degrees to another wall that you are framing step back the topmost plate.
In fact there may be no stud available at the point where you want to add your new wall. Build the Frame of the Walls. 1 Install the stud wall bottom plate.
Attach a top plate to the ceiling framing. Find these and if you come across any really bowed or twisted lengths set these aside to be cut up into noggings later. Eliminate wood framing basics mistakes by chalking a full-size map of your walls directly on the floor.
Fasten the bottom plate by driving 16d nails through it into the floor. It is easier to build the frames on the floor and then erect them as this ensures that the frame is vertically level. Mark the location of interior walls as well and snap chalk lines on both sides of interior wall.
Use a plumb bob to position a bottom sole plate directly beneath the top plate and nail it to the floor. Nail the end studs to framing in the existing wall. Below we show you how to frame an interior wall with wood studs.
An interior wall is typically built from 2-by-4 or 2-by-6 wall studs and framing covered with panels of gypsum drywall that are nailed or screwed to the framing members. Cut the floor plate or sill and fix down. Calculate the placement for any door opening and cut the jack and cripple studs to length.
Raise the wall you constructed into place screw the bottom plate to the floor and then nail or screw the top plate to the wall structure. Leave the lower of the two top plates full length. Make sure the studs are placed on the side of the line marked with a x.
Rather than crowding this third stud flush in the corner of the wall install it approximately 1 inch away from the capping stud. Laying out the studs and nailing them together for interior wall framing. If the walls arent plumb stagger the plates by the differences in the Step 1 plumb-bob measurements.
Start by building the outer frame of one wall using 2x4s. Starting at one end of the new wall shim between the top plate and ceiling and check the wall for plumb with a level. Attaching the wall to studs in the adjoining walls will give it added stability but is not absolutely necessary.
So grab a helper gather your tools and get to work this weekend. Locate the new wall. Repeat at the other end of the board.
Measure back from the edge 3 12 inches for 2x4 walls and 5 12 inches for 2x6 walls. Lay out the shoe and plate as shown in the illustration and nail the studs in place using 3½ nails. For added strength hammer your nails in.
Build the header and have it ready when you layout the rest of the wall framing. Use a hammer drill with 316 masonry bit to drill a hole through the wood and into the concrete floor.
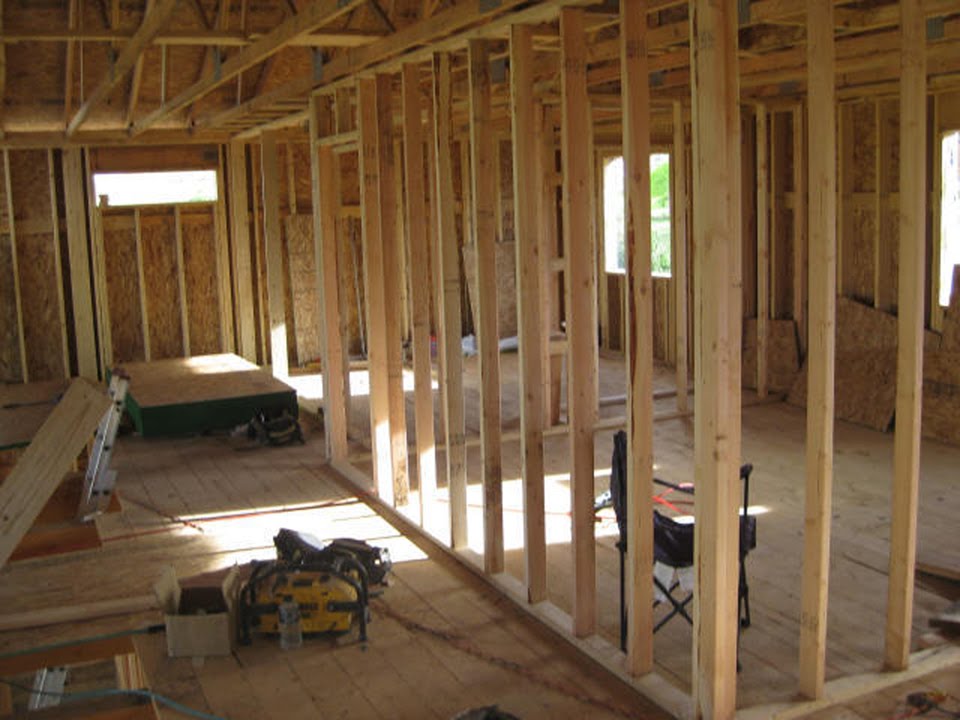
Wall Framing Parts Frames On Wall Stud Walls Shed Plans

Installation Requirements Construction Features External Walls Wood Frame Construction Framing Construction Frames On Wall

How To Frame A Wall And Door Framing Construction Finishing Basement Stud Walls

How To Frame A Wall And Door Interior Barn Doors Build A Closet Stud Walls

How To Meet Energy Star Using Advanced Framing Techniques Plates On Wall Timber Frame Building Frames On Wall

How To Build A Frame For An Interior Wall Framing Construction Build A Frame Frames On Wall

Pin On House

Pin On Diy

Pin On Making Manzanita Pins

How To Build A Partition Wall Beginner S Guide Youtube Building A Stud Wall Partition Wall Diy House Renovations
Pin On Carpentry For Beginners

How To Build A Partition Wall Handyman Tips Building A Stud Wall Partition Wall Room Partition

Framing Door Opening Framing Rough Door Opening Framing Basement Walls Home Additions Basement Walls

How To Frame Walls Frames On Wall Framing Construction Stud Walls
The Usual Building Walls Build A Wall Frames On Wall Woodworking Plans

How To Frame A Wall Basement Flooring Framing Doorway Basement Flooring Options

Wall Framing Strategies Wall Corners Frames On Wall Interior Walls Wall
Pin On Wood

We Ll Show You How To Build A Wall Frame On The Floor Then Position It Into Place Basement Remodel Diy Build A Wall Basement Remodeling
